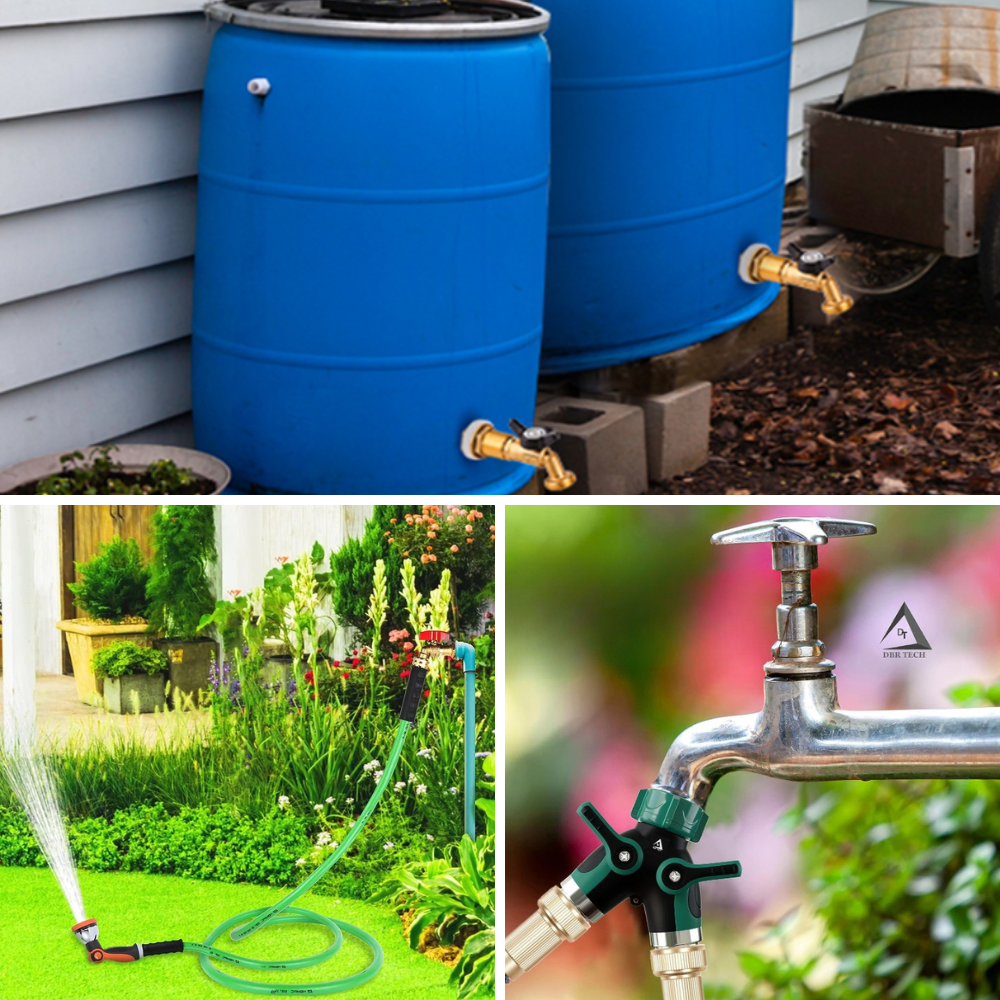
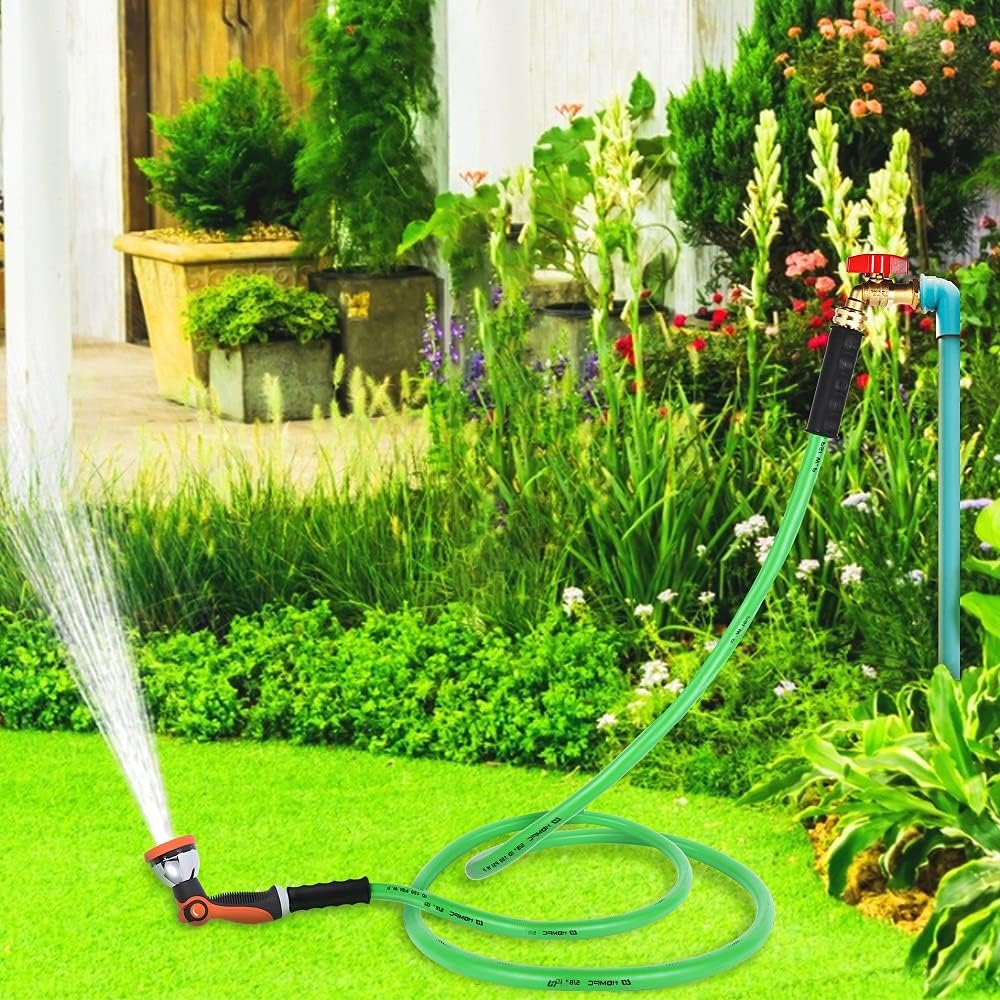
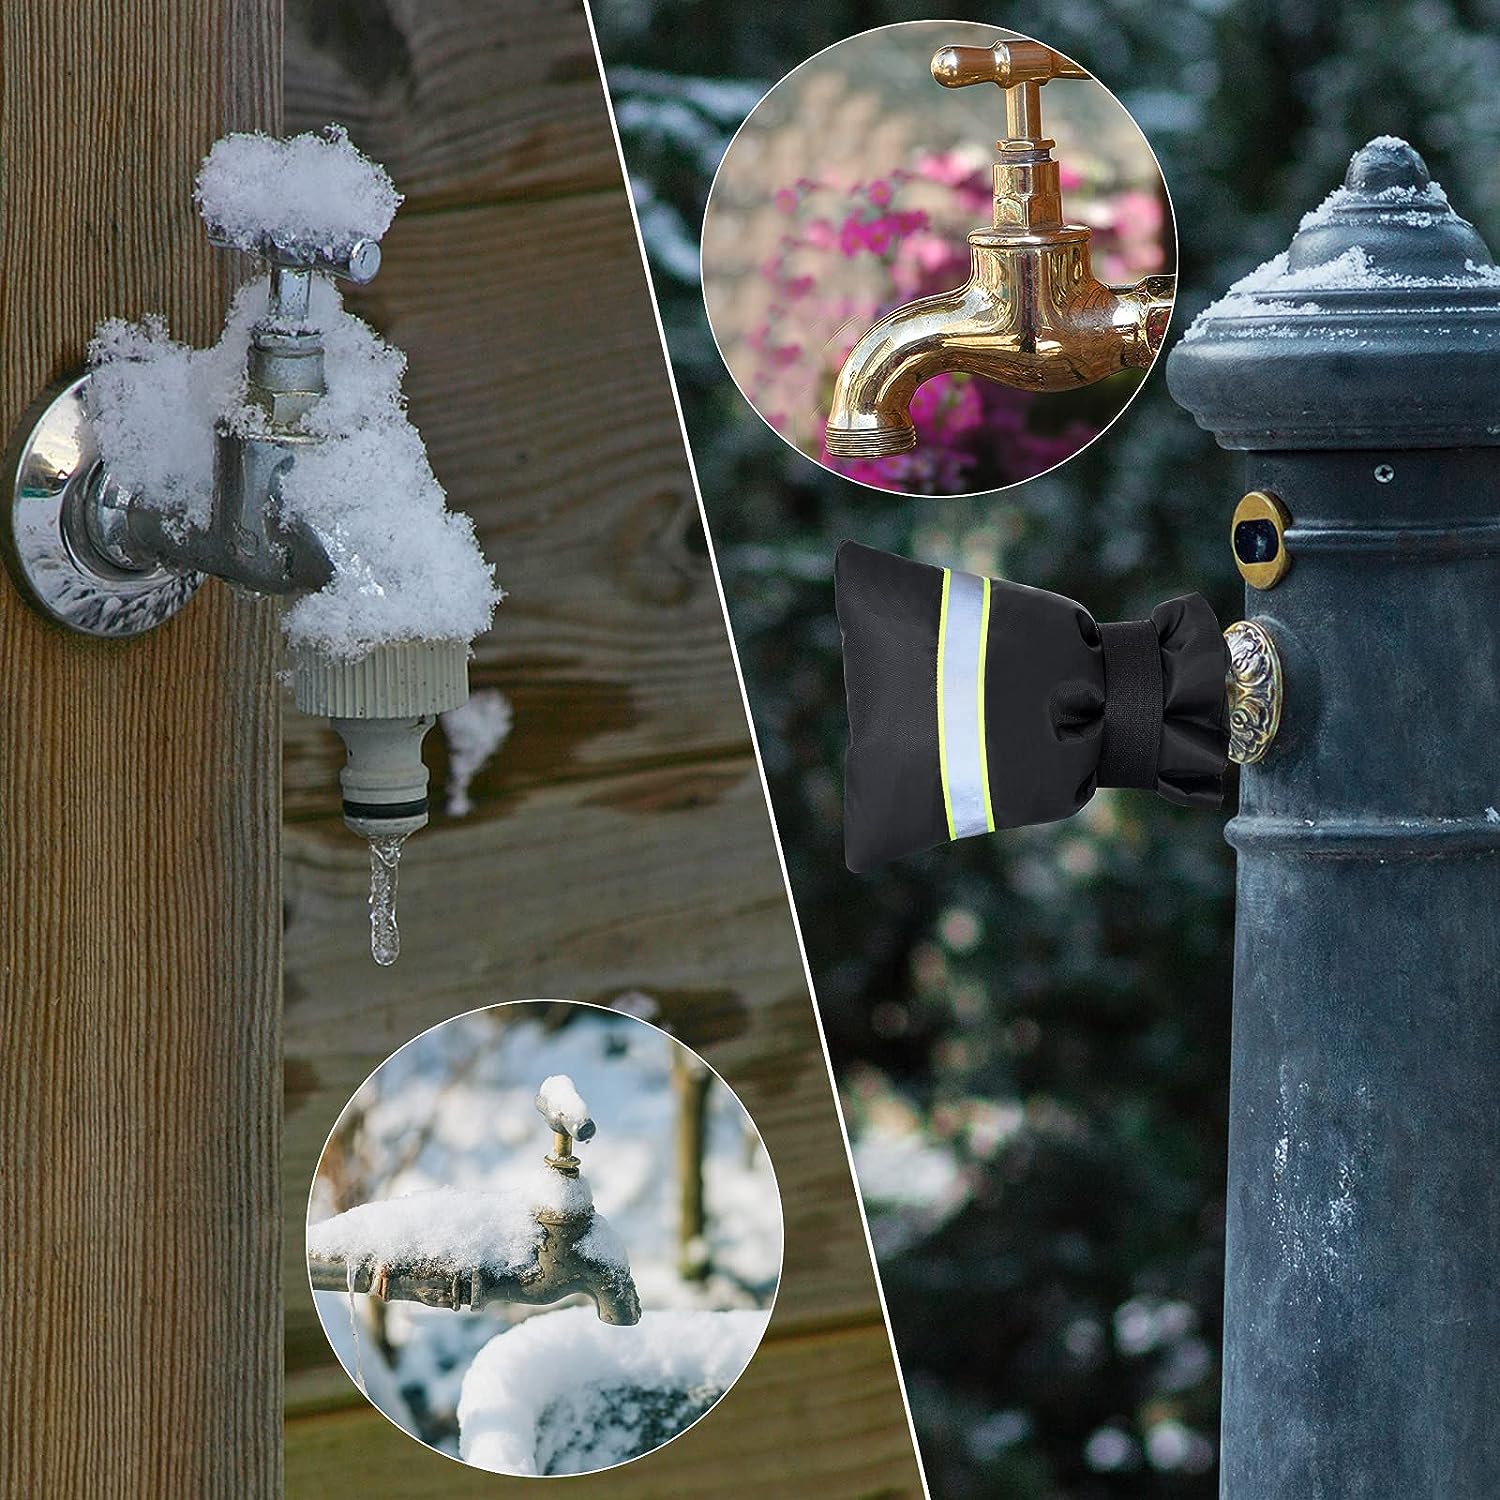
An outdoor spigot is an essential part of any home. It provides water for your outdoor activities, such as washing the car, watering the garden or plants, and filling up the pool. Over time, outdoor spigots tend to wear out, lose pressure, or get damaged. In such situations, you may need to replace the outdoor spigot. It may seem like a daunting task, but it is straightforward if you know the necessary steps. In this blog post, we will cover everything you need to know about outdoor spigot replacement.
Understand the types of outdoor spigots
Before beginning any outdoor spigot replacement, you need to be aware of the different types of outdoor spigots available. Some of the commonly used outdoor spigot types include frost-free, hose bibs, sill-cocks, and vacuum breakers. Each type of spigot serves a distinct purpose, so it's essential to identify which type of spigot, with its unique mechanism, you have installed. Understanding the type of spigot you're dealing with is the first step in replacing an outdoor spigot.
Gather the necessary tools
You'll need a few tools on hand to replace an outdoor spigot. These essential tools include a wrench, screwdriver, Teflon tape, and a new outdoor spigot. Ensure that you buy the right size of the spigot that matches the opening of your water pipe. The necessary tools may vary depending on the type of spigot and the installation environment. Be sure to read through the manufacturer's instructions and the tool required that comes with your spigot.
Remove the old spigot
Now that you have the new spigot and necessary tools and know which type of spigot you're replacing, it's time to remove the old spigot. If you have a frost-free spigot, you'll need to turn off the water supply and then remove the cap on the spigot body. Then, using a wrench, loosen and remove the retaining nut and then the spigot. For hose bibs or sill-cocks, you'll need to turn off the water supply and then use a wrench to loosen and remove the retaining nut that secures the spigot to the water pipe.
Install the new spigot
Once you've removed the old spigot, it's time to install the new one. Begin by wrapping Teflon tape around the threads of the water pipe to ensure that it forms a tight seal. Then, insert the spigot into the opening and secure it with the retaining nut. Tighten the nut firmly but not too tightly, as it may damage the spigot or the water pipe. While attaching the new spigot, ensure that it is perfectly aligned to avoid leaks.
Test the new spigot
Finally, after installing the new spigot, it is essential to test it before use: turn on the water supply, open the valve, and let the water run for a few minutes to flush out any debris. Check for any leaks from the spigot and at the connection points. If everything is working correctly, you're all set to use your new spigot.

FAQs About Outdoor Spigot Replacement
How much does it cost to replace an outdoor spigot?
The cost of replacing an outdoor spigot will vary depending on the type of spigot you need, as well as the complexity of the installation. Generally, a basic outdoor spigot can cost anywhere from $50 to $200, with the more complex installations costing upwards of $500. Labor costs can also add to the total cost, so it's important to factor that into your budget.
Is it hard to replace an outdoor spigot?
Replacing an outdoor spigot is not difficult, but it does require some basic plumbing skills. Depending on the type of spigot you have, you may need to turn off the water supply, disconnect the old spigot, and then install the new one. You may also need to solder the new spigot into place, so it's important to make sure you have the right tools for the job. If you don't feel comfortable attempting this project yourself, it's best to hire a professional plumber to handle the job.
How do you replace an old outdoor water spigot?
Replacing an old outdoor water spigot is a relatively simple process. First, you will need to shut off the water supply to the spigot and then disconnect the old spigot from the water line. You can then install the new spigot and reattach it to the water line. Once the new spigot is securely in place, you can turn the water back on and check for any leaks. If there are any leaks, you may need to adjust the fittings or replace the gaskets. After that, your new outdoor water spigot should be ready to use.
Can a plumber fix an outdoor spigot?
Yes, a plumber can fix an outdoor spigot. Depending on the problem, the plumber may be able to repair the spigot without having to replace it. Common issues that a plumber can fix include a leaky spigot, a broken handle, or a damaged valve. If the spigot is beyond repair, the plumber can also help you select a replacement model and install it for you.
Can you replace a spigot without turning off the water?
No, it is not recommended to replace a spigot without turning off the water. Doing so could cause water damage and even flooding. To replace a spigot, you must first turn off the water supply to the spigot, either by turning off the main water supply or by closing the shut-off valve near the spigot. Once the water is off, you can safely replace the spigot.
Replacing an outdoor spigot can seem like a complicated task, but it is a manageable process. It's essential to determine which type of spigot you're replacing, gather the necessary tools, and follow the above steps. It's always a good idea to go through the manufacturer's manual before starting the process, as it may give more explicit instructions on the process. Remember; you don't have to be a professional plumber to replace an outdoor spigot. With the simple steps, that we've outlined above, you should be able to replace your outdoor spigot quickly and without any hassle.


