

Key Takeaways:
- Preparation is Key: Properly prepping the nail plate ensures a smooth application and long-lasting results.
- Thin Layers Matter: Applying thin layers of rubber base gel prevents peeling and ensures a durable foundation.
- Finishing Touches: Using a top coat and cuticle oil enhances the shine and longevity of the manicure.
Introduction
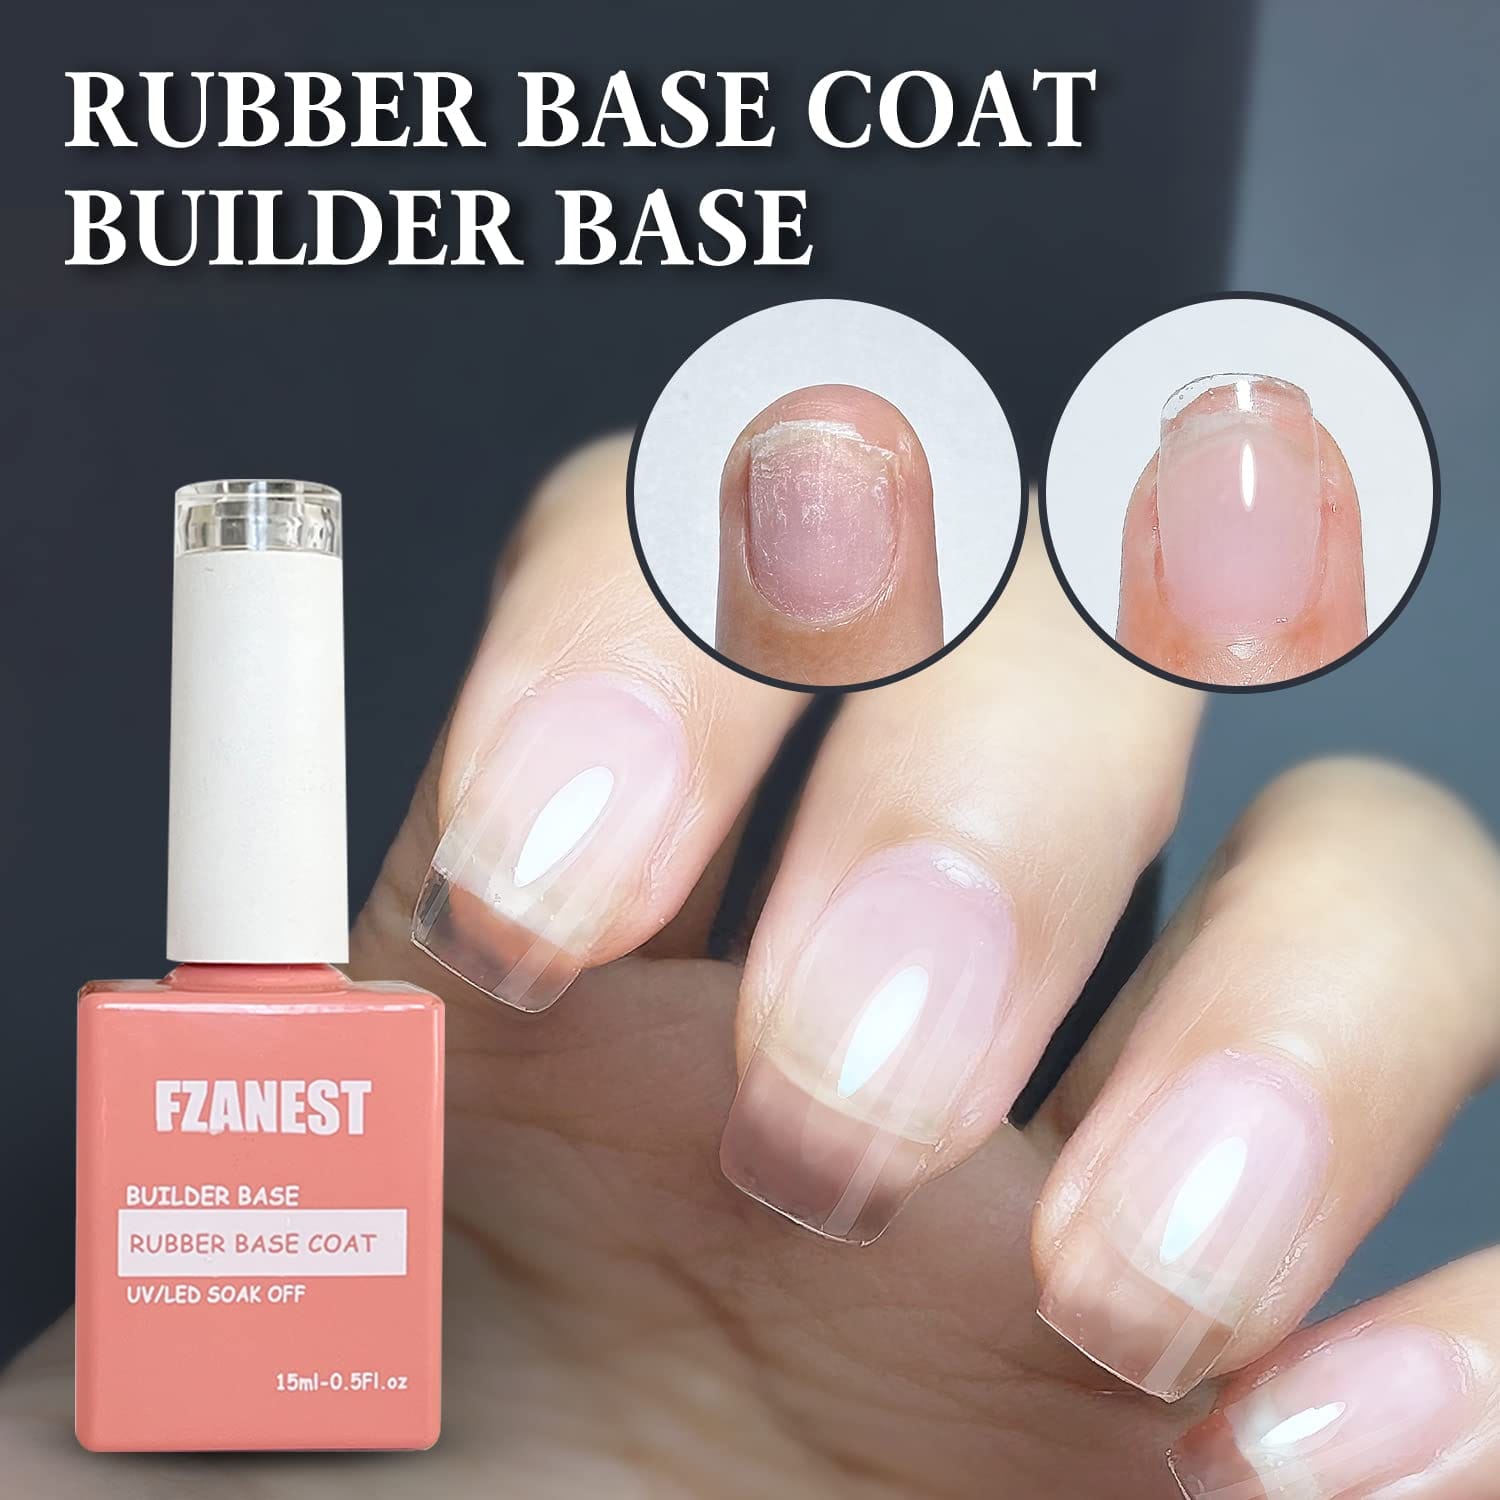
Applying rubber base gel to natural nails can seem like a daunting task, but with the right step-by-step guide, you can achieve a professional-looking manicure. This article will walk you through the entire application process, emphasizing the importance of preparing the natural nail surface for effective application of the gel products, ensuring your nails are strong, smooth, and long-lasting.
Preparing the Nail Plate
Before you start applying the rubber base gel, it’s crucial to prepare the natural nail. Begin by completely removing any old nail polish using a non-acetone remover. This ensures that the new gel polish adheres properly to the nail surface.
Next, gently push back the cuticles using an orange stick. This step is essential to prevent the gel from lifting at the edges. Buff the nail plate lightly to remove any shine, creating a slightly rough surface for better adhesion. Finally, cleanse the nails using a lint-free wipe soaked in alcohol to eliminate any dust and oils.
Applying the Rubber Base Coat
Shake the bottle of rubber base coat well before use. This ensures that the product is well-mixed and ready for application. Using a brush, apply a thin layer of the rubber base coat to the nail plate. Make sure to cover the entire surface, including the edges, to create a smooth surface.
Cure the rubber base coat under a UV lamp for the recommended time, typically 30-60 seconds. This step is crucial for setting the base coat and creating a durable foundation for the subsequent layers of gel polish.
Adding the First Coat of Gel Polish
Once the rubber base coat is cured, it's time to apply the first coat of gel polish. Choose your desired color and apply a thin layer to the nail plate. Be careful not to flood the cuticles or the edges of the nail. A thin layer ensures even coverage and prevents peeling.
Cure the first coat of gel polish under the UV lamp for the recommended time. This step locks in the color and prepares the nail for the second coat. If necessary, you can decrease the quantity of gel polish on the brush to avoid over-application.
Applying the Second Coat of Gel Polish
For a more vibrant and opaque finish, apply a second coat of gel polish. Again, ensure the layer is thin and even. This second coat will enhance the color and provide a more polished look.
Cure the second coat under the UV lamp for the recommended time. This step ensures that the gel polish is fully set and ready for the top coat. The self-leveling properties of the gel polish will help create a smooth surface.
Sealing with a Top Coat
The top coat is essential for sealing the gel polish and adding shine. Apply a thin layer of top coat over the entire nail, ensuring the edges are covered to prevent chipping. This step not only adds shine but also protects the color underneath.
Cure the top coat under the UV lamp for the recommended time. Once cured, the nails will have a high-gloss finish and a durable foundation that can withstand daily wear and tear.
Removing the Sticky Layer
After curing the top coat, you'll notice a sticky layer on the nails. This is normal and can be easily removed. Use a lint-free wipe soaked in alcohol to gently wipe away the sticky layer. This step will reveal the smooth, shiny surface of the nails.
Be careful not to press too hard, as this can dull the shine. A gentle wipe is all that's needed to remove the sticky layer and complete the manicure.
Applying Cuticle Oil
To finish the manicure, apply cuticle oil to the skin around the nails. This step nourishes the cuticles and adds a final touch of shine. Gently massage the oil into the cuticles and the surrounding skin.
Cuticle oil not only enhances the appearance of the nails but also promotes healthy nail growth. Regular use can help strengthen weak nails and prevent peeling.
Tips for Professional Use
It's important to follow these steps for professional use to ensure client satisfaction. Always use high-quality products and tools to achieve the best results. Pay attention to the client's hands and nails, and customize the application process based on their specific needs.
Regularly clean and sanitize your tools to maintain a hygienic workspace. This not only ensures your clients' safety but also prolongs the life of your tools.
Troubleshooting Common Issues
If you notice peeling or lifting, it may be due to improper nail preparation or thick layers of gel polish. Ensure that the nail plate is thoroughly cleansed and that each layer is applied thinly and evenly.
If the gel polish appears uneven or streaky, it may be due to insufficient curing time. Make sure to follow the recommended curing times for each product to achieve a smooth, even finish.
 MD SHISHIR
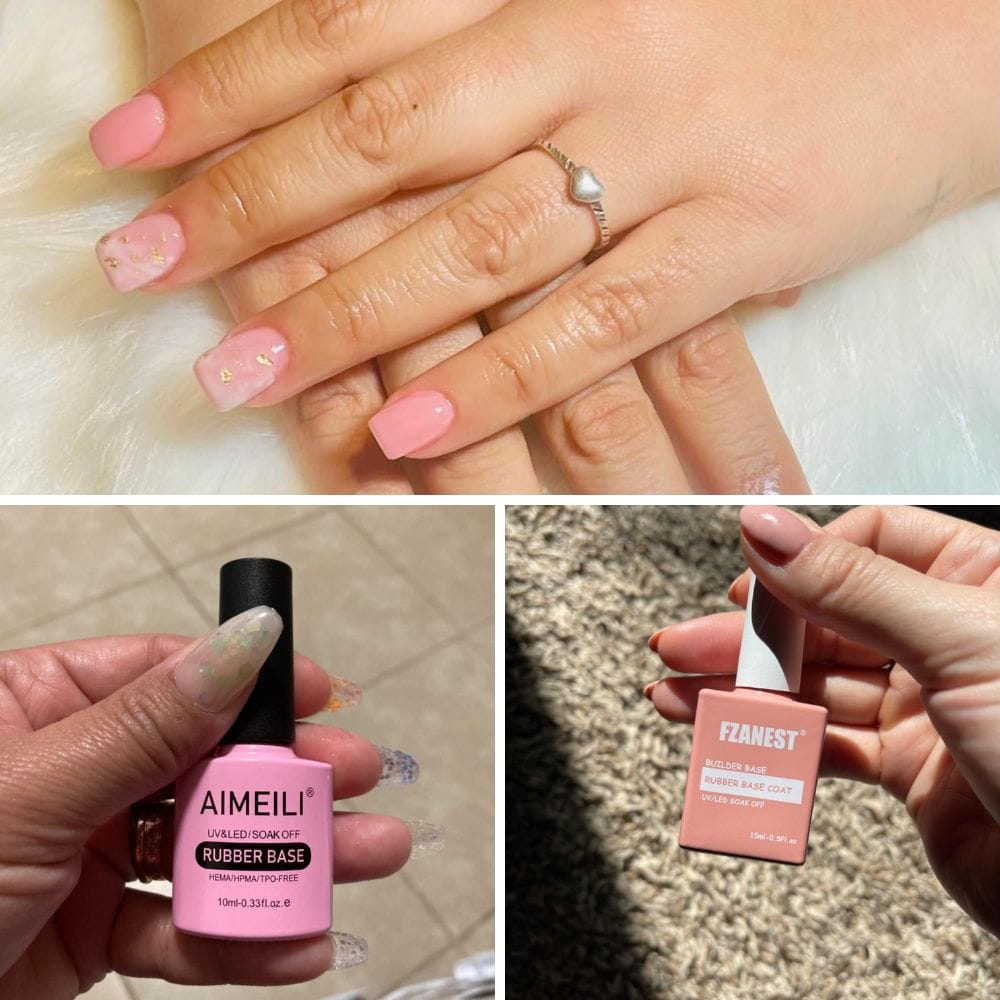

How long does a rubber base gel manicure last?
A rubber base gel manicure has the potential to last for up to three weeks when properly maintained. Avoid using your nails as tools and apply cuticle oil regularly to maintain the manicure's longevity.
Can I use a regular nail polish remover to remove the gel?
No, regular nail polish remover won't work. You'll need to soak the nails in acetone to completely remove the gel polish. This ensures that the gel is fully dissolved and can be easily wiped away.
What should I do if my nails start peeling?
If your nails start peeling, it may be due to improper application or thick layers of gel polish. Ensure that each layer is applied thinly and that the nail plate is properly prepped before application.

Applying rubber base gel to natural nails involves a series of precise steps that ensure a professional and long-lasting manicure on the natural nail. From preparing the nail plate to applying the final top coat, each step is crucial for achieving a smooth, durable finish. By following this guide, you can create beautiful, strong nails that stand the test of time.