
Key Takeaways:
- Proper preparation of the nail plate is crucial for long-lasting results.
- Applying thin layers ensures a smooth and even finish.
- Curing each layer under a UV or LED lamp is essential for durability.
Preparing Your Nails
Before diving into the application process, it’s essential to prepare your nails properly. Start by cleaning your nails thoroughly to remove any oils or residues. Use a nail file to shape your nails to your desired length and style, ensuring the tip is smooth and even. This step is crucial as it sets the foundation for the rubber base gel to adhere correctly.
Next, gently push back your cuticles using a cuticle pusher. This helps in creating a clean surface for the gel polish. Buff the nail plate lightly to remove any shine, ensuring better adhesion of the rubber base gel. Wipe your nails with a lint-free wipe soaked in acetone to remove any dust and oils. This step ensures that the nail plate is completely clean and ready for the base coat.
Applying the Rubber Base Gel

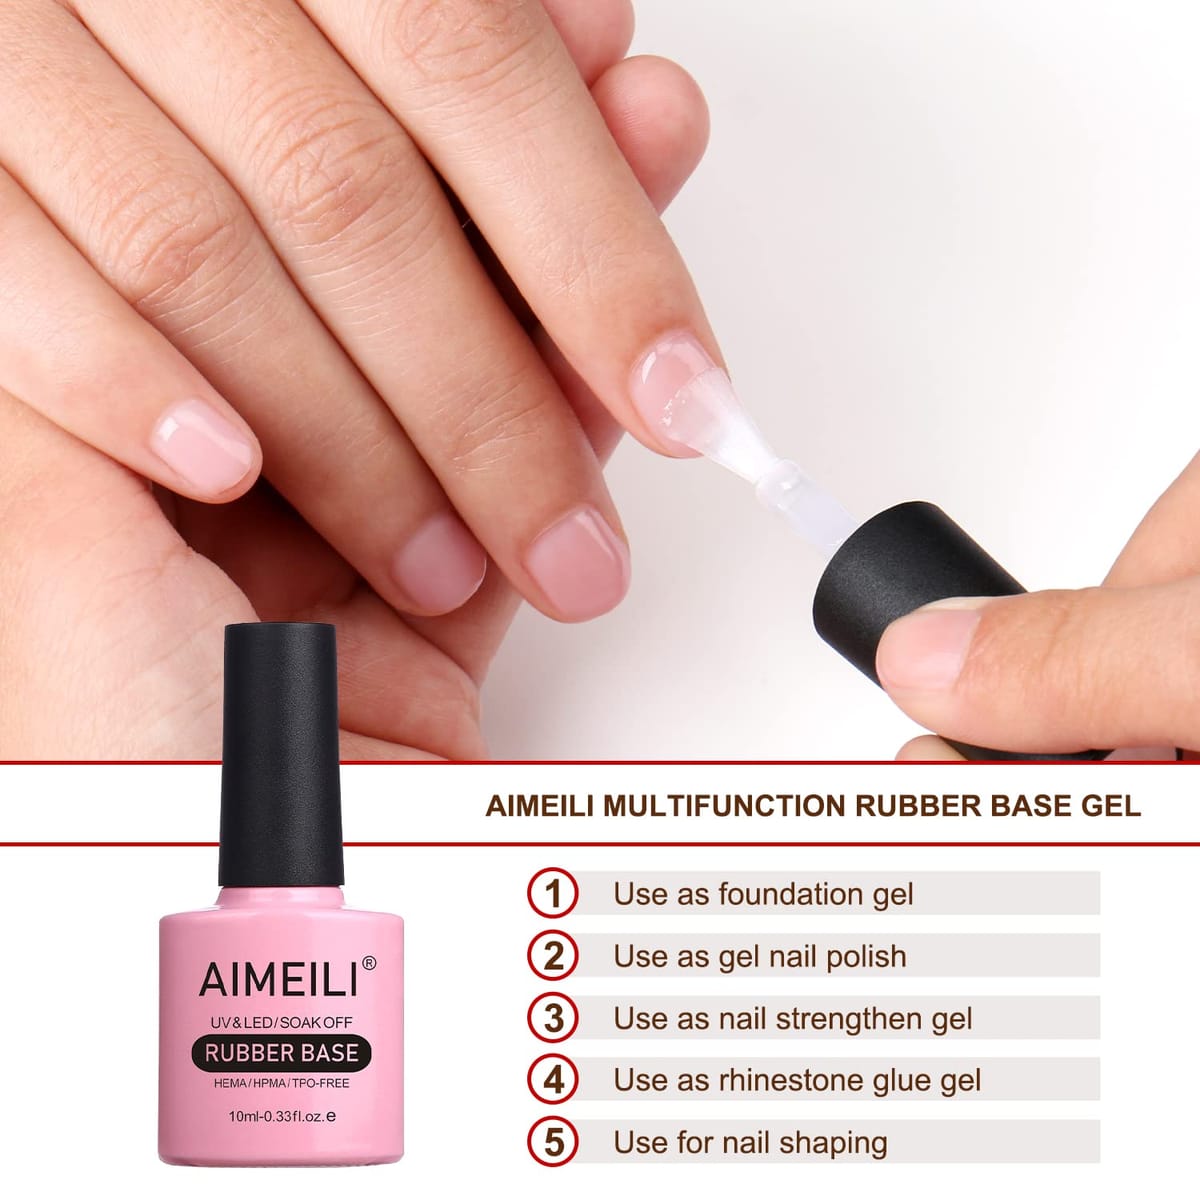
Once your nails are prepped, it’s time to apply the rubber base gel. Start by applying a thin layer of the base coat to each nail. Make sure to cover the entire nail plate, including the free edge and edges. This helps in preventing chipping and lifting. Cure the base coat under a UV or LED lamp for the recommended time, usually around 30-60 seconds.
After curing the base coat, apply a thin layer of the rubber base gel. Ensure that the layer is even and smooth. Avoid getting the gel on your cuticles, as this can cause lifting. Cure the rubber base gel under the UV or LED lamp for the recommended time. If you prefer a thicker layer, you can apply a second coat and cure it again.
Adding Color and Shine
Now that the rubber base gel is in place, you can add your desired color. Apply a thin layer of gel polish in your chosen shade. Cure it under the UV or LED lamp for the recommended time. For a more vibrant color, apply a second layer of gel polish and cure it again.
To finish off, apply a top coat to seal in the color and add shine. Make sure to cover the entire nail, including the free edge, to prevent chipping. Cure the top coat under the UV or LED lamp for the recommended time. Once cured, wipe your nails with a lint-free wipe soaked in acetone to remove any sticky residue. Your nails should now have a beautiful, long-lasting shine.
Tips for Long-Lasting Results
To ensure your rubber base gel manicure lasts as long as possible, follow these tips. First, always apply thin layers of each product. Thick layers can cause the gel to lift and peel. Second, make sure to cure each layer thoroughly under the UV or LED lamp. Incomplete curing can lead to a weakened manicure.
Additionally, avoid exposing your nails to harsh chemicals or excessive water. Wear gloves when doing household chores to protect your manicure. Regularly apply cuticle oil to keep your cuticles hydrated and healthy. This helps in maintaining the overall appearance of your nails.
Removal Process
When it's time to remove your rubber base gel, follow these steps to avoid damaging your nails. Start by filling the top layer of the gel to break the seal. Soak a cotton ball in acetone and place it on your nail. Wrap your nail in aluminum foil to keep the cotton ball in place. Continue this process for all your nails.
After about 10-15 minutes, check if the gel has softened. Use a cuticle pusher to gently push off the softened gel. If the gel doesn't come off easily, soak your nails for a few more minutes. Once the gel is completely removed, buff your nails lightly to smooth out any rough spots. Apply cuticle oil to nourish your nails and cuticles.
 MD SHISHIR
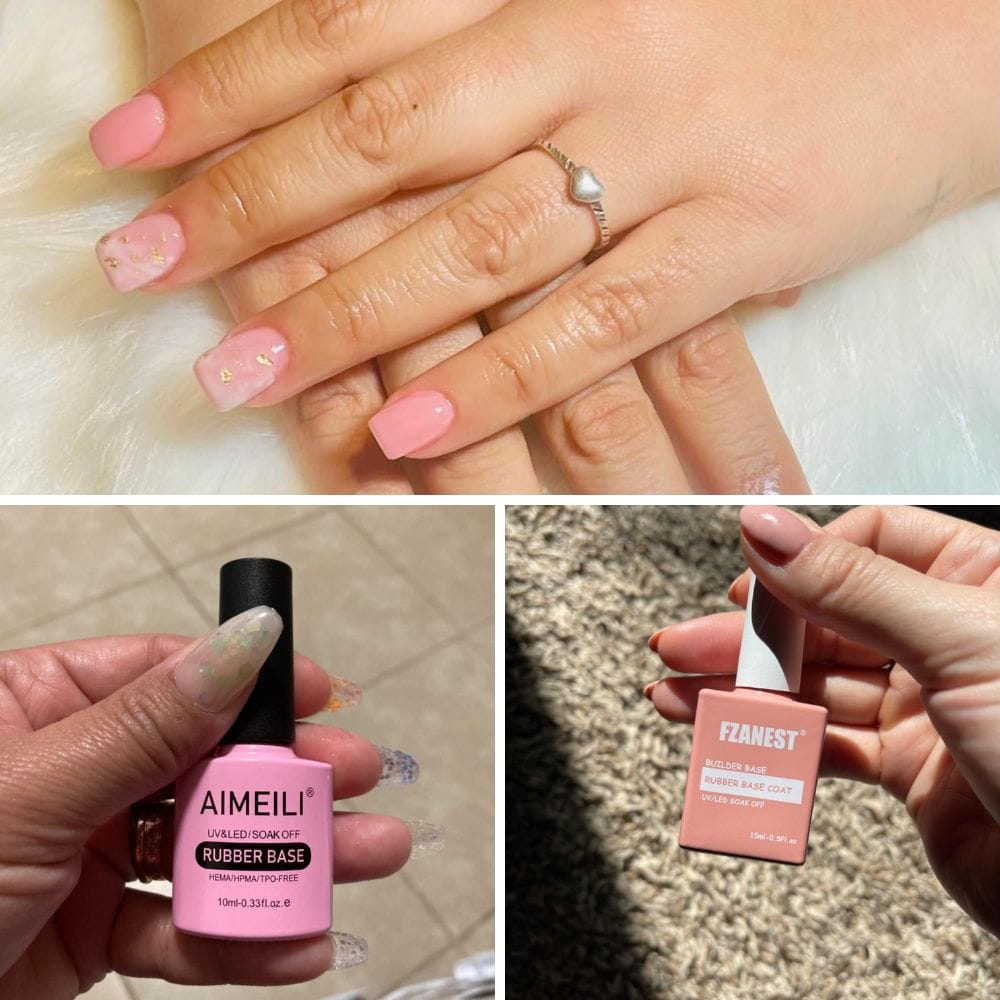

How long does a rubber base gel manicure last?
A rubber base gel manicure can last up to three weeks with proper care and maintenance. Ensure you follow the tips for long-lasting results to maximize the lifespan of your manicure.
Can I use regular nail polish over a rubber base gel?
Yes, you can apply regular nail polish over a rubber base gel. However, for the best results and longevity, it's recommended to use gel polish.
How do I fix lifting rubber base gel?
If you notice lifting, gently file the lifted area and reapply a thin layer of rubber base gel. Cure it under the UV or LED lamp and apply a top coat to seal it.

Applying rubber base gel involves several steps, from preparing your nails to curing each layer under a UV or LED lamp. Proper preparation and application techniques are key to achieving a long-lasting and beautiful manicure. By following the tips and steps outlined in this guide, you can enjoy salon-quality nails at home.
Raihan Uddin