If you've recently noticed water dripping from your outdoor faucet, you're not alone. Leaky faucets are a common issue faced by homeowners across the globe. They can be a nuisance, increasing your water bill and causing unwanted messes. Fortunately, with some basic knowledge and a bit of elbow grease, you can learn how to fix a leaky outdoor faucet yourself. This article provides step-by-step guidance on how to tackle this problem effectively.
Identifying the Problem
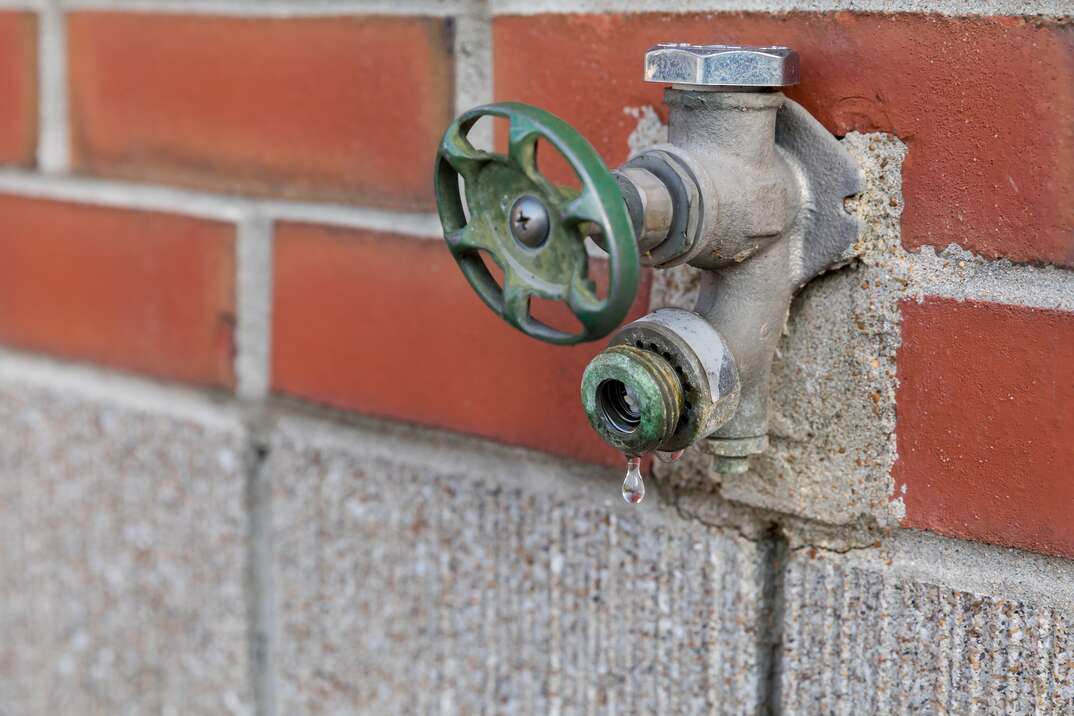
The first step in fixing a leaky outdoor faucet is identifying the source of the problem. The leak could be due to a loose packing nut, a worn-out washer, or corrosion and mineral deposits. By determining the cause of the leak, you can implement the most effective solution.
Step 1: Turn Off Your Water Supply
Before you begin any repair work, it's crucial to shut off the water supply to your outdoor faucet. This will prevent any unwanted water flow during the repair process, ensuring a safe and dry working environment.
Step 2: Check the Packing Nut
Once the water supply is turned off, inspect the packing nut on your faucet. If it's loose, simply tightening it may solve your problem. However, if the packing nut is corroded or has mineral deposits, you may need to clean it using a solution like acetone.
Step 3: Accessing the Washer Assembly
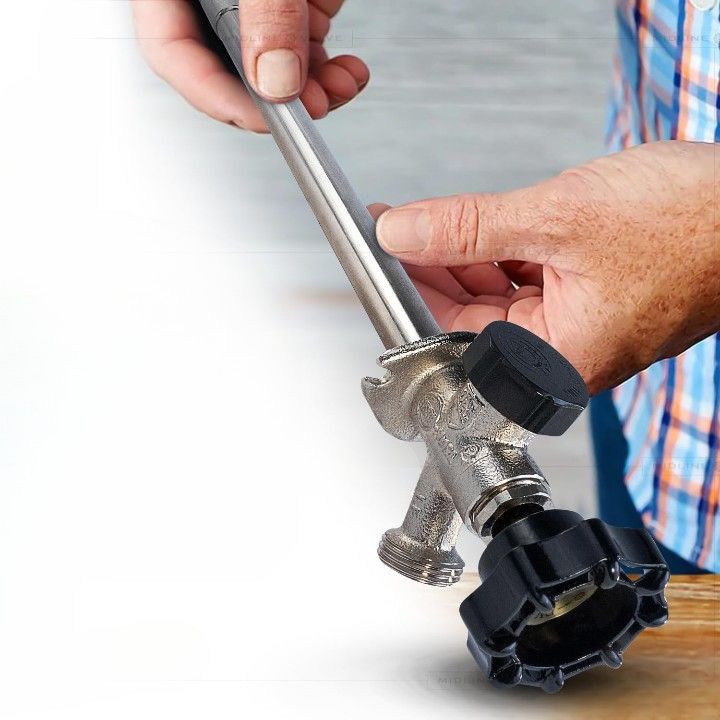
If the packing nut isn't the culprit, the issue might lie in the washer assembly. To access this, you'll need to unscrew the packing nut and pull out the valve stem. Once the washer assembly is exposed, inspect it for any signs of wear and tear.
Step 4: Replacing the Washer
If the washer is worn out or damaged, replacing it should fix your leaky faucet. You can find replacement washers at your local hardware store. Ensure you choose the correct size for your specific faucet model.
Step 5: Reassembly
After replacing the washer, reassemble the faucet by reinserting the valve stem and tightening the packing nut. Turn your water supply back on and check the faucet for any leaks. If the leak persists, it may be time to call in a professional plumber.
Quick Fixes
In some cases, a leaky outdoor faucet can be fixed using a repair kit6. These kits include all the necessary parts to replace the internal components of the leaking outdoor faucet. Follow the instructions provided with the kit to ensure proper installation.


What tools do I need to fix a leaky outdoor faucet?
Fixing a leaky outdoor faucet requires several tools. These include an adjustable wrench or channel lock pliers for loosening and tightening components, a Phillips or flathead screwdriver for removing screws, a valve seat wrench if you need to replace the valve seat, and Teflon tape for sealing pipe threads. Replacement parts such as washers, O-rings, or a whole new stem assembly may also be necessary depending on the nature of the leak.
How do I turn off the water to the faucet?
To turn off the water to your faucet, you'll need to find the main water shut-off valve for your home. This is typically located in the basement, garage, or outside on an exterior wall. Once located, turn the valve clockwise until it stops. This will cut off all water to your home, allowing you to work on the faucet without water flowing through it.
How can I tell what type of outdoor faucet I have?
The type of outdoor faucet you have can usually be determined by its design and function. Compression faucets have separate hot and cold handles and are the most common type. Cartridge (sleeve) faucets have a single handle and move up and down to regulate flow and left and right for temperature. Ball faucets have a single handle and a rotating ball inside to regulate both temperature and flow, while disc faucets have a single handle over a wide cylindrical body.
How do I replace a stem or valve in my outdoor faucet?
After removing the handle, use an adjustable wrench to unscrew the packing nut, which will expose the stem. Turn the stem counterclockwise to remove it from the faucet body. If you're replacing the valve, you'll find it at the end of the stem. Unscrew the valve with a valve seat wrench, replace it with a new one, and then reassemble the faucet.
How do I replace a washer in my outdoor faucet?
Replacing a washer in your outdoor faucet is a fairly straightforward process. First, you will need to turn off the water supply to the faucet. Then, you will need to remove the handle and stem of the used faucet washer. Once these are removed, you can access the washer and replace it with a new one. Finally, reassemble the faucet and turn the water back on. It is important to make sure that all connections are tight and secure so that there are no leaks.
How do I adjust the flow of water in my outdoor faucet?
Adjusting the flow of water in an outdoor faucet is a fairly simple process. First, locate the shut-off valve for the faucet. This is usually located near the faucet itself or in the basement. Once you have located the valve, turn it off. Then, locate the water flow regulator on the faucet itself.
This is usually a small screw or knob that can be turned to adjust the flow of water. Turn it clockwise to increase the flow of water, and counter-clockwise to decrease the flow. Once you are satisfied with the flow, turn the shut-off valve back on and you are done.
How do I test my outdoor faucet for leaks?
To test your outdoor faucet for leaks, turn on the water and inspect the faucet closely. If you see water dripping from the spout or seeping from around the handle, you have a leak. For slower leaks, you can use the water meter test. Make sure all water-using appliances in your home are turned off, then check the water meter. If it's still moving, you likely have a slow leak.

In conclusion, fixing a leaky outdoor faucet can be a simple DIY task if you know what to look for and have the right tools on hand. Regular maintenance can prevent future leaks and save you money on your water bill. Remember, if the problem persists after following these steps, don't hesitate to seek professional help.


