
Key Takeaways:
- Fluted panels add a sophisticated touch to any space, transforming plain walls into stunning features.
- The process involves precise measurements, careful installation, and attention to detail to achieve a professional finish.
- Using the right tools and materials, such as MDF boards and liquid nails, ensures durability and a seamless look.
Introduction to Fluted Panels
"Fluted wall panels are a fantastic way to add texture and depth to your walls. Whether you're looking to create a fluted accent wall or cover an entire room, this guide will walk you through the whole process. From selecting the right materials to the final touches, you'll learn how to make fluted panels that will elevate the style of your home.
Fluted wall panels that can be made from various materials, but MDF boards are a popular choice due to their affordability and ease of use. With the right tools and a bit of patience, you can transform any wall into a stunning feature wall that will be the talk of your next gathering.
Gathering Your Materials
Before you start, gather all the necessary materials. You'll need MDF boards, liquid nails, a laser level, painters tape, a pencil, and a table saw. These tools will help you achieve perfectly level and straight fluted panels.
Having everything ready before you begin will save you time and frustration. Make sure you have enough MDF boards to cover the entire wall or the specific area you want to transform. It's better to have a little extra material than to run out halfway through the project.
Measuring and Marking
Start by measuring the height and width of the wall where you plan to install the fluted window panels. Use a laser level to ensure your measurements are accurate and the lines are perfectly straight. Mark the measurements on the wall with a pencil.
Next, measure and mark the MDF boards according to the height of your wall. This step is crucial for ensuring that the panels fit perfectly and look professional. Double-check your measurements before making any cuts.
Cutting the MDF Boards
Using a table saw, cut the MDF boards to the desired length. Make sure to wear safety goggles and follow all safety precautions while cutting. The edges of vertical boards should be smooth and straight to ensure a seamless fit when installed.
If you're creating a fluted accent wall, you may want to cut the boards to different lengths to add visual interest. For an entire wall, keep the top spacing and lengths consistent for a uniform look.
Preparing the Wall
Before installing the panels, prepare the wall by cleaning it thoroughly. Remove any dust, dirt, or debris that could interfere with the adhesive. If there are any nail holes or imperfections, fill them with caulk and sand them smooth.
A clean, smooth surface will ensure that the panels adhere properly and look flawless. Use painters tape to mark the perimeter of the area where the panels will be installed. This will help you keep the panels aligned and prevent any adhesive from getting on the surrounding walls.
Applying the Adhesive
Apply liquid nails to the back of each MDF board. Use a zigzag pattern to ensure even coverage. Press the board firmly against the wall, starting from the bottom and working your way up. Use a laser level to make sure the board is perfectly level.
Hold the board in place for a few minutes to allow the adhesive to set. Repeat this process for each board, making sure to leave a small gap between each one for expansion. This gap will be filled later to create a seamless look.
Installing the Panels

Continue installing the panels, working your way across the wall. Use painters tape to hold the baseboard the panels in place while the adhesive dries. Check each panel with a laser level to ensure they are all perfectly aligned.
If you're covering an entire room, work in sections to make the process more manageable. Take your time to ensure each panel is installed correctly. This attention to detail will pay off in the final result.
Filling the Gaps
Once all the panels are installed, fill the gaps between them with caulk. Use a caulk gun to apply a thin bead of caulk along the center of each seam. Smooth the caulk with your finger or a caulk smoothing tool to create a seamless look.
Allow the caulk to dry completely before moving the moulding on to the next step. This will ensure that the seams are filled and the panels look like one continuous piece.
Sanding the Edges
After the caulk has dried, you sanded the edges of the panels to create a smooth, even surface. Use fine-grit sandpaper and sand in the direction of the grain. This will help the panels blend seamlessly with the wall.
Sanding is an important step that should not be skipped. It will remove any rough edges and create a professional finish. Wipe away any dust with a damp cloth before proceeding.
Painting the Panels
Choose a paint color that complements your decor and enhances the look of the fluted panels. Apply two coats of paint, allowing each coat to dry completely before applying the next. Use a high-quality paintbrush or roller for a smooth finish.
Painting the panels will not only enhance their appearance but also protect them from wear and tear. Take your time to ensure even coverage and a flawless finish.
Adding Trim and Molding
To complete the look, add trim and molding around the edges of the panels. This will give the panels a finished, polished wood appearance. Use a miter saw to cut the trim to the correct length and attach it with liquid nails.
Adding trim and molding is like putting the cherry on top of a sundae. It adds that final touch that makes the panels look professionally installed. Choose a style that complements the rest of your decor for a cohesive look.
Cleaning Up
Once the panels are installed and painted, clean up any remaining dust or debris. Remove the painters tape and touch up any areas that need it. Step back and admire your handiwork.
Cleaning up is an important step that should not be overlooked. It will ensure that your new fluted panels look their best and are ready to be enjoyed.
Maintenance Tips
To keep your fluted panels looking their best, dust them regularly with a soft cloth. Avoid using harsh chemicals or abrasive cleaners, as they can damage the finish. If the panels get dirty, clean them with a damp cloth and mild soap.
Regular maintenance will keep your panels looking fresh and new. With proper care, they will last for years and continue to enhance the beauty of your home.
Inspiration and Ideas
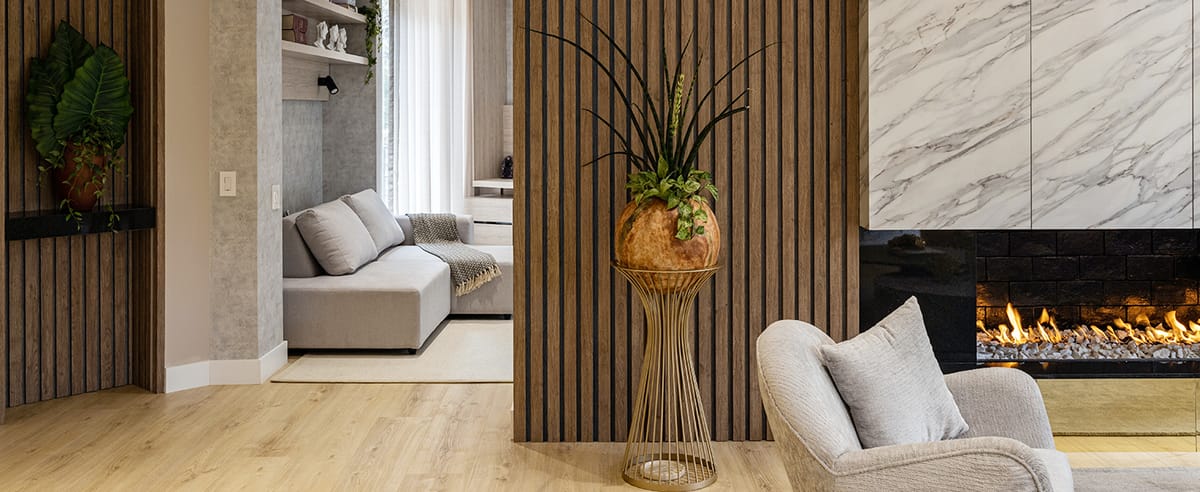
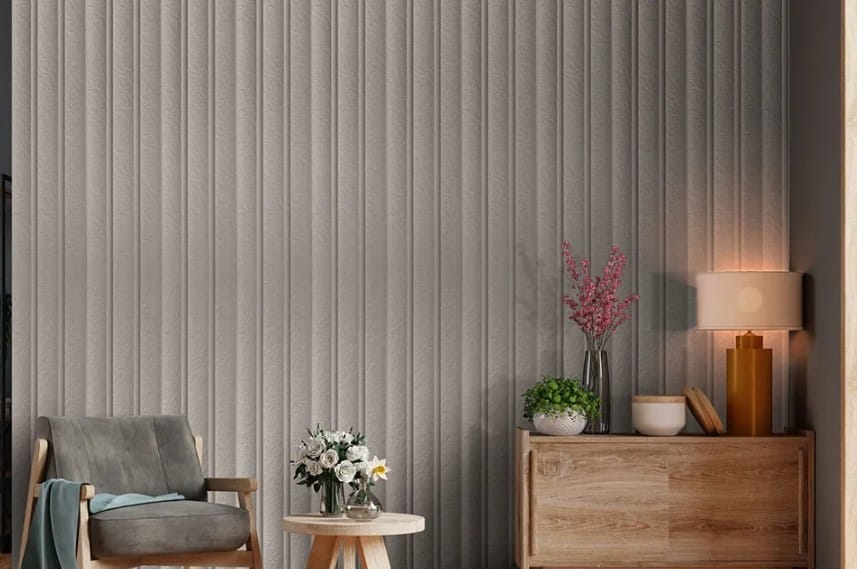
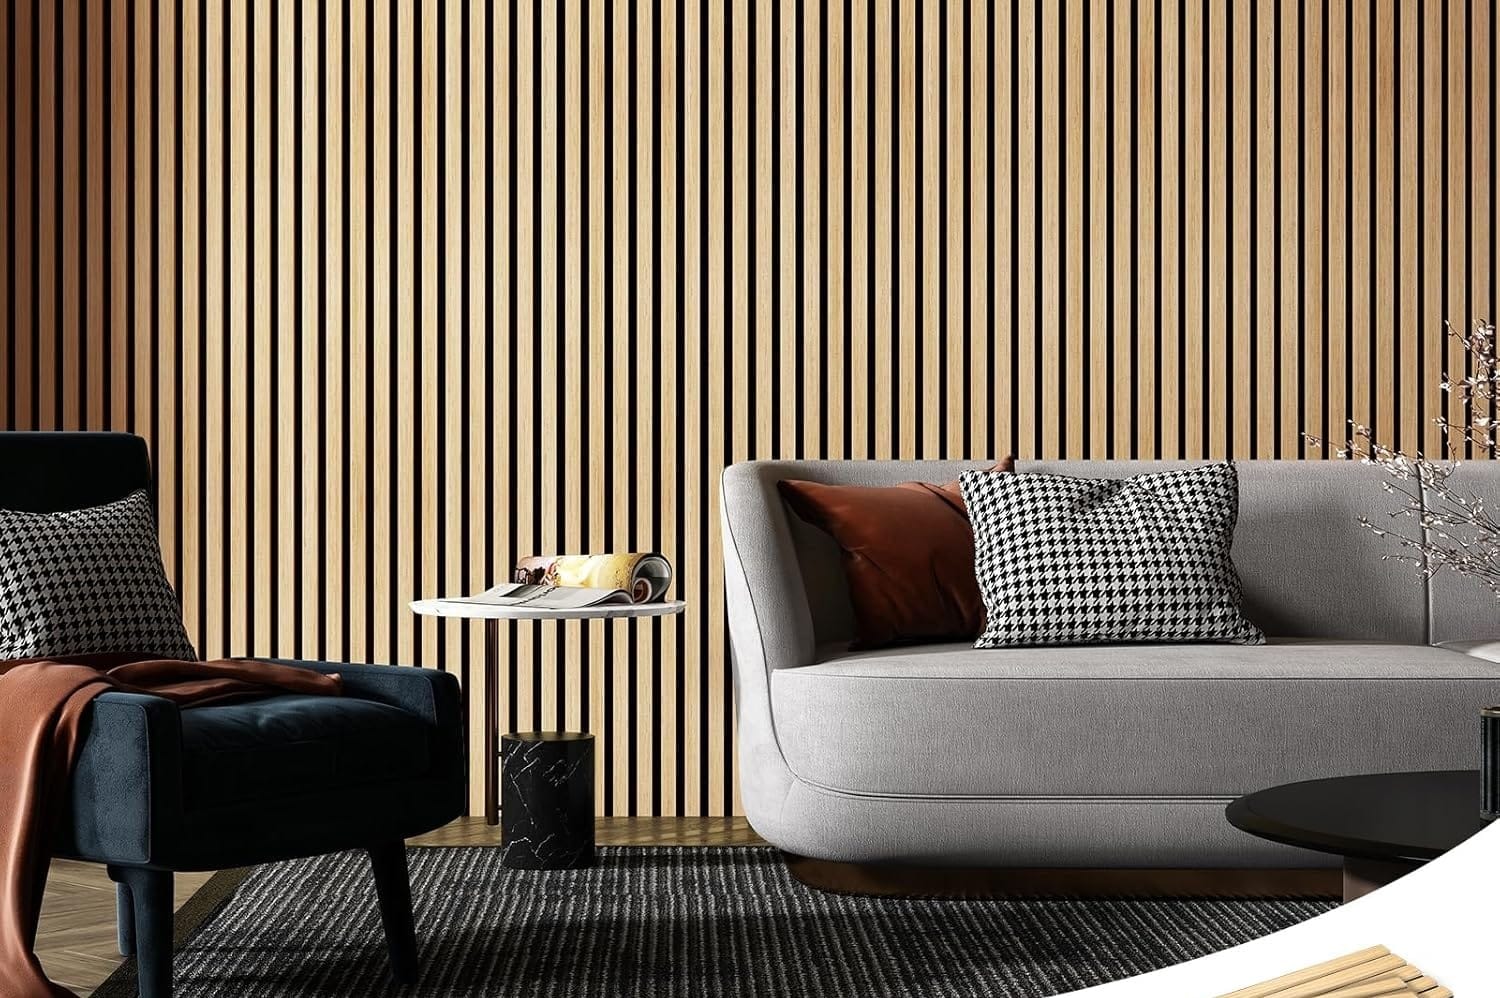
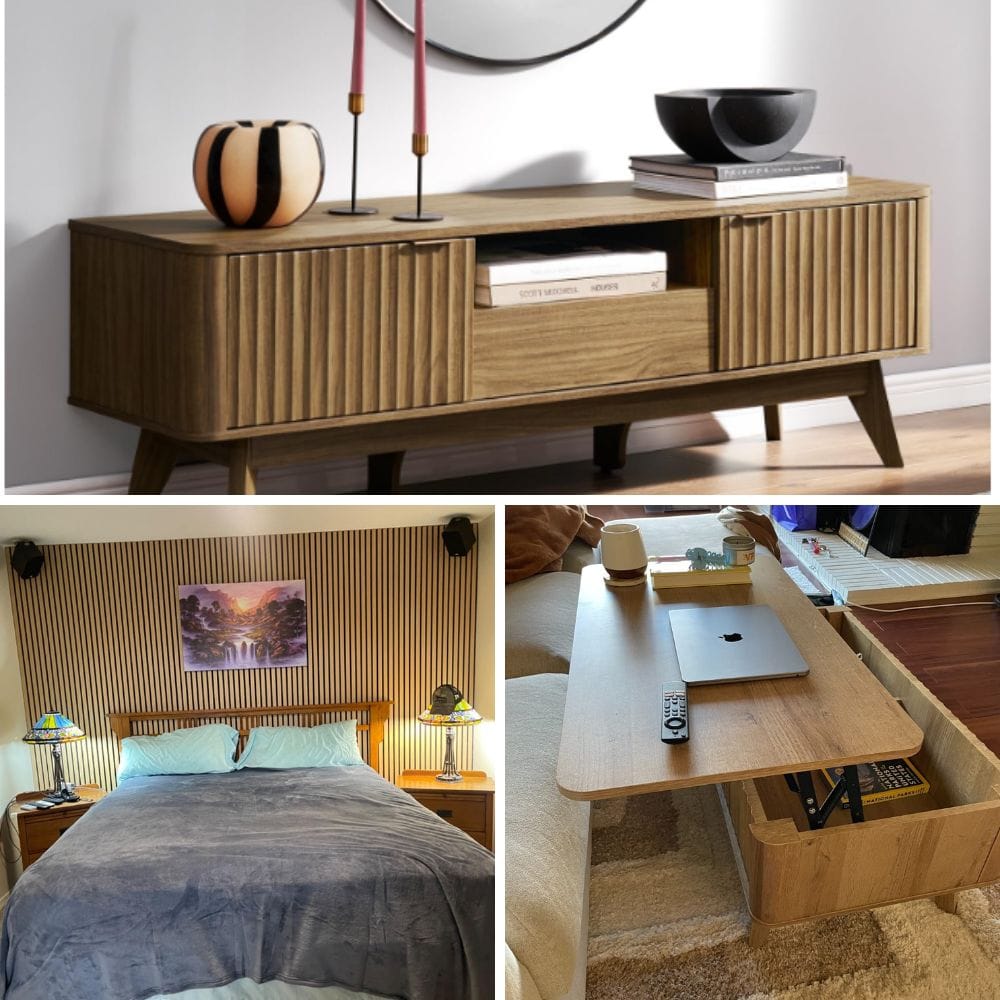
Fluted panels can be used in a variety of ways to enhance your home. Consider creating a fluted accent wall in your living room or bedroom. Use fluted panels to add texture to a hallway or entryway. The possibilities are endless.
Look for inspiration online or in home decor magazines. You'll find plenty of ideas for incorporating fluted panels into your home. Use these ideas as a starting point and let your creativity guide you.
Case Study: Transforming a Front Room
One homeowner used fluted panels to transform their front room into a sophisticated space. They started by measuring and marking the walls, then cutting and installing the MDF boards. After filling the gaps and sanding the edges, they painted the panels a rich, deep blue.
The result was a stunning feature wall that became the focal point of the room. The homeowner added trim and molding to the ceiling to complete the look, creating a space that was both elegant and inviting.
Tools and Materials Checklist
- MDF boards
- Liquid nails
- Laser level
- Painters tape
- Pencil
- Table saw
- Caulk
- Caulk gun
- Fine-grit sandpaper
- High-quality paintbrush or roller
- Trim and molding
- Miter saw
Having a checklist will ensure you have everything you need before you start the project. This will make the process smoother and more efficient.
Common Mistakes to Avoid
One common mistake is not measuring accurately. This can result in panels that don't fit properly and look uneven. Always double-check your measurements before making any cuts.
Another mistake is not allowing the adhesive to dry completely before moving on to the next step. This can cause the panels to shift and become misaligned. Be patient and allow each step to dry thoroughly before proceeding.
Budget-Friendly Tips
If you're on a budget, consider using MDF boards instead of more expensive materials. MDF is affordable and easy to work with, making it a great choice for DIY projects.
You can also save money by doing half the work yourself instead of hiring a professional. With the right tools and a bit of patience, you can achieve professional-looking results without the extra cost.
Final Touches
Once the panels are installed and painted, add any final touches to complete the house and look. This could include adding artwork, lighting, or other decor items that complement the panels.
The final touches are what will make the space truly yours. Take your time to choose items that reflect your style and enhance the beauty of the fluted panels.

What materials are best for making fluted panels?
MDF boards are a popular choice due to their affordability and ease of use. They can be easily cut and shaped to fit your own storage space and provide a smooth surface for painting.
How do I ensure the panels are level and straight?
Use a laser level to ensure your measurements and lines are accurate. Check each panel as you install it to make sure every line behind it is perfectly level.
Can I paint the panels any color?
Yes, you can paint the panels any color that complements your decor. Choose a high-quality paint and apply two coats for the best results.

Creating fluted panels is a rewarding DIY project that can transform any space. By following these steps and using the right tools and materials, you can achieve a professional-looking result that will enhance the beauty of your home. Whether you're creating a fluted accent wall or covering an entire room, the process is straightforward, and the results are stunning.